BWC: GUI apps in Docker on OSX
Running GUI apps inside Docker containers on your Mac, just because we can. This blog shows you how it works, what doesn’t work, and how to do it.
February 12, 2016
docker
Perhaps slightly inspired by this blog by Jessica Frazelle I started putting some of the apps that I like to run on my Mac inside a container. At first I only ‘containerized’ text-based apps, like Weechat, Mutt, fleetctl and Terraform, but more recently I decided to have a go at containerizing some GUI apps.
“Why?!”, you might ask. Well, the only true answer is: “Because. We. Can.” :-)
Things to consider
- Memory: OSX can’t run Docker containers natively. You need to use
docker-machinewhich creates a (small!!) VM for you that actually runs your containers. Unless you RTFM and create that VM with a reasonable amount of memory, you’re going to have a bad time when running Chrome and Eclipse in a container. - Graphics: your containers are going to run in a headless VM, so you’re going to need a way to hook up those containers to an X-session over TCP. No easy bind-mounting of the X11 socket.
- 3D: there is no 3D accelleration in your VM. None. Nada.
- Sound: By default, your VM is not going to have support for sound, so unless you’re going to pull some PulseAudio magic, you’re not going to have sound.
If you’re serious about running GUI apps in a container, don’t run OSX. Install Linux, read Jessica’s blog, and have fun. It is a far less problematic experience.
However, if you just want to do it for sh*ts & giggles, let’s fire up some GUI containers on our Macs!
Set up your Mac: install stuff
If you’re not using Homebrew yet, you should be ashamed of yourself (and start using it). We’ll be using Homebrew to install pretty much everything we need.
Cask: Cask extends Homebrew and is aimed at delivering the Homebrew experience for GUI apps and large binaries. To install Cask, run:
brew tap caskroom/cask
Virtualbox: Runs our VM. To install Virtualbox, run:
brew cask install virtualbox
Docker stuff: We need Docker and Docker Machine, both of which we can get from Homebrew:
brew install docker
brew install docker-machine
XQuartz: XQuartz is an X11 server for OSX. To install it, run:
brew cask install xquartz
Update: as it turns out, you need to either start Virtualbox manually once at this point, or reboot your system. If you don’t, you will get some errors in the following steps because Virtualbox isn’t behaving properly.
Set up your Mac: configure stuff
Now that we’ve installed everything, let’s configure our Mac.
Docker Machine: we need to create a Docker Machine VM and configure our shell to use it. First, create our Docker VM and configure it to have a bit more memory (default is 1GB):
docker-machine create --driver virtualbox --virtualbox-memory 2048 docker-vm
To actually use the VM we need to start it, and configure our shell:
docker-machine start docker-vm
eval $(docker-machine env docker-vm)
Test if everything works:
docker run --rm bennycornelissen/whalesay "Hello World!"
XQuartz: we need to configure XQuartz to listen on a TCP port (so we can connect to it from our Docker VM), and we don’t want XQuartz to open XTerm every time we start it, so let’s fix that too:
defaults write org.macosforge.xquartz.X11 nolisten_tcp 0
defaults write org.macosforge.xquartz.X11 app_to_run /usr/bin/true
At this point, the Docker VM still isn’t allowed to connect to the XQuartz server, but since we don’t want to disable security we need to allow it explicitly each time XQuartz runs. This is actually not as cumbersome as it sounds.
Running apps!
Basically, to make the GUI apps work, you would need to do a couple of things, in order:
- Run your Docker VM
- Set up your shell for the Docker VM
- Start XQuartz
- Set your
$DISPLAYenvironment variable - Allow XQuartz connectivity for the Docker VM
- Run your app container with the right settings
OK, that’s a lot of manual stuff to run one app. Fortunately we have a shell config file we can abuse to make life easier.
First, we’re going to create a few shell functions for managing Docker Machine and Xquartz. You can add these to your ~/.bash_profile:
    # docker-machine stuff
    if [ $(which docker-machine) ]; then
      export C_DOCKER_MACHINE="docker-vm"

      dminit() {
        docker-machine start ${C_DOCKER_MACHINE}
        dmshell
      }

      dmshell() {
        eval $(docker-machine env ${C_DOCKER_MACHINE})
      }

	  docker_if_not_running() {
        if [ $(docker-machine status ${C_DOCKER_MACHINE}) != 'Running' ]; then
          dminit
        fi
      }

      dmhosts() {
        DMHOSTNAME="dockerhost"

        sudo -v

        grep ${DMHOSTNAME} /etc/hosts > /dev/null && sudo sed -i '' "/${DMHOSTNAME}/d" /etc/hosts
        sudo echo "$(docker-machine ip ${C_DOCKER_MACHINE}) ${DMHOSTNAME}" | sudo tee -a /etc/hosts
      }

      if [ $(docker-machine status ${C_DOCKER_MACHINE}) == 'Running' ]; then
        dmshell &> /dev/null
      fi

    fi # end docker-machine
	# Xquartz stuff
    xquartz_if_not_running() {
      v_nolisten_tcp=$(defaults read org.macosforge.xquartz.X11 nolisten_tcp)
      v_xquartz_app=$(defaults read org.macosforge.xquartz.X11 app_to_run)

      if [ $v_nolisten_tcp == "1" ]; then
        defaults write org.macosforge.xquartz.X11 nolisten_tcp 0
      fi

      if [ $v_xquartz_app != "/usr/bin/true" ]; then
        defaults write org.macosforge.xquartz.X11 app_to_run /usr/bin/true
      fi

      netstat -an | grep 6000 &> /dev/null || open -a XQuartz
      while ! netstat -an \| grep 6000 &> /dev/null; do
        sleep 2
      done
      export DISPLAY=:0
    }
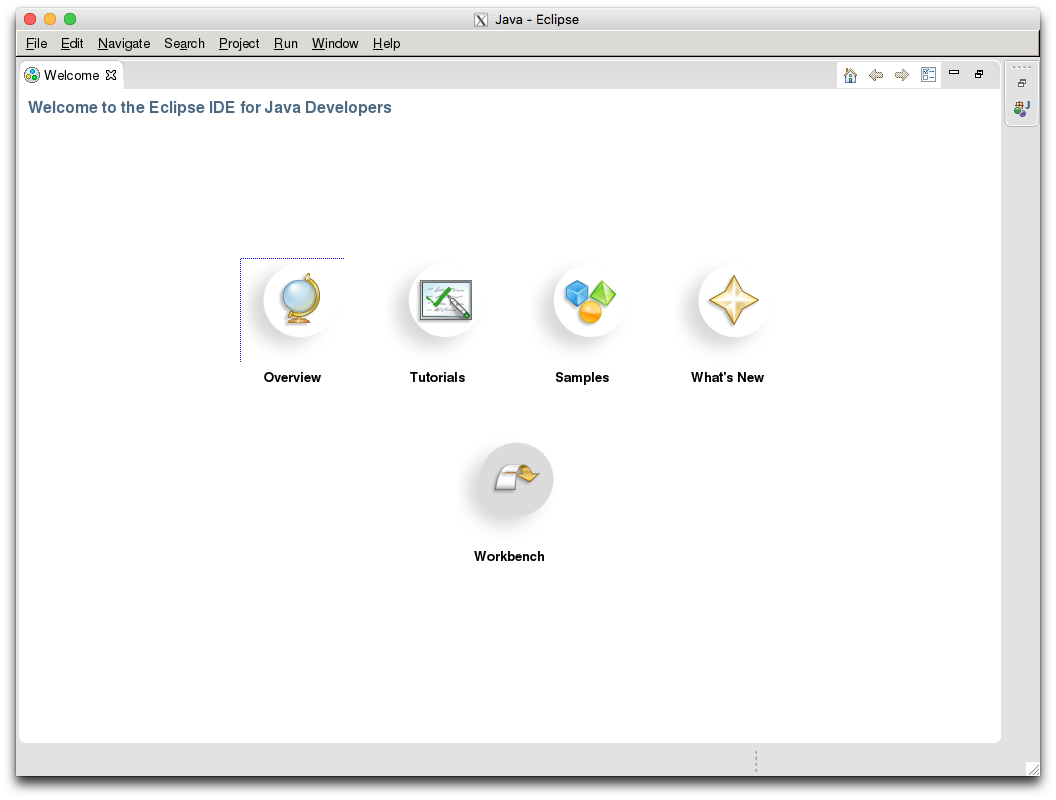
Now that we’ve made life easier, let’s fire up Eclipse! Again, we can do this manually, or we can create a shell function for each app so it runs the appropriate container in the appropriate way.
    dockereclipse() {
      xquartz_if_not_running
      docker_if_not_running
      xhost +$(docker-machine ip ${C_DOCKER_MACHINE})

      docker run \
        --rm \
        --memory 512mb \
        -v ${HOME}/Documents/eclipse/.eclipse-docker:/home/developer \
        -v ${HOME}/Documents/eclipse:/workspace \
        -e DISPLAY=$(docker-machine inspect ${C_DOCKER_MACHINE} --format={{.Driver.HostOnlyCIDR}} | cut -d'/' -f1):0 \
        fgrehm/eclipse:v4.4.1
    }
The function above checks if XQuartz is running (and configured properly) and starts it if necessary. Then it checks if my Docker VM is running, and starts it if necessary. Then it allows the Docker VM to connect to the XQuartz server, and runs the fgrehm/eclipse:4.4.1 container with a 512MB memory restriction and the correct $DISPLAY setting so it uses our XQuartz server to display the window. To persist settings and code, volume mappings are added to ${HOME}/Documents/eclipse.
$ dockereclipse

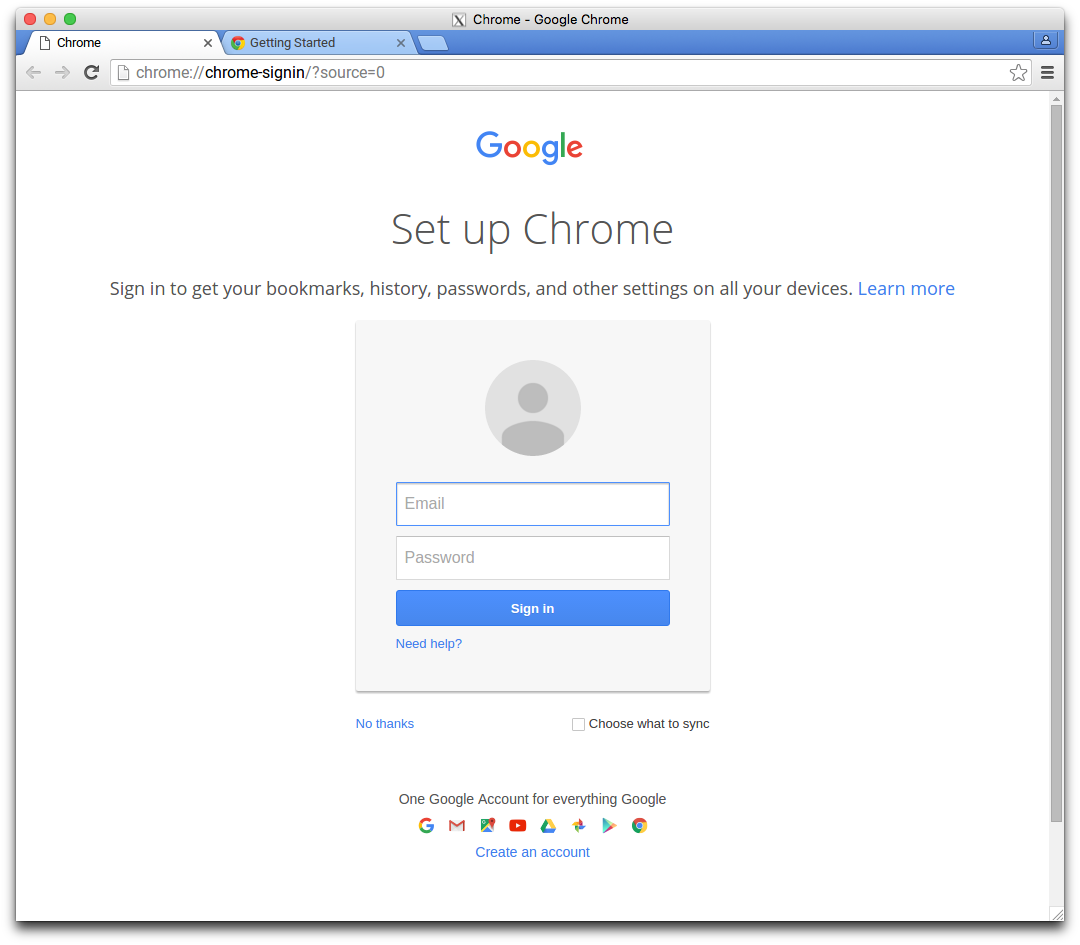
Let’s do something similar for Chrome:
    dockerchrome() {
      xquartz_if_not_running
      docker_if_not_running
      xhost +$(docker-machine ip ${C_DOCKER_MACHINE})

      docker run \
        --rm \
        --memory 512mb \
        --net host \
        --security-opt seccomp:unconfined \
        -e DISPLAY=$(docker-machine inspect ${C_DOCKER_MACHINE} --format={{.Driver.HostOnlyCIDR}} | cut -d'/' -f1):0 \
        jess/chrome
    }
Chrome needs some extra settings for the networks and for sandboxing to work properly, but the result is the same.
$ dockerchrome

Of course, if you actually want to persist your Chrome settings or downloaded files, you need to add some volume mappings so data is actually persisted on your filesystem. And like I said before, sound will not work. So even though you can watch some Youtube in your containerized Chrome, it will be dead silent.
Wrapping up
So now you know how to run a GUI app, in a Docker container, on your Mac. Great! Except that you don’t have 3D, you don’t have sound, and you need to create a bunch of shell functions. So why would you actually want to do this? Well, for some apps, that don’t need sound or 3D, it might actually be useful. For instance, you don’t need to actually install Eclipse (or Java) on your Mac. And it gives you a nice opportunity to play around with Docker and discover some of the stranger aspects of putting stuff in a container. And maybe, after a while, it will make you decide to switch from OSX to Linux and go with some super lightweight Linux distro (nerd creds are upon you!) and you end up being that guy or girl who can set up their Linux system in 10 minutes with a minimal graphical install, clone your ‘dotfiles’ Git repository and instantly have access to all the GUI apps you need.